Every car looks good in a parking lot
The most common thing I hear during a courtesy inspection is some version of "I had no idea that was there." The owner washed the car that morning. It looked perfect in the driveway. Then we roll it into the bay, bring a light up to the hood, and the whole surface turns into a spiderweb.
Nothing changed between the driveway and the bay. The paint is the same paint. What changed is the light, and that is the entire subject of this post. Paint inspection is less a skill than a lighting setup, and once you understand what the light is doing, you can read a panel the way we do.
Why the light matters more than your eyes
Clear coat behaves like a mirror. When it is perfect, a light source reflects off it as a clean, sharp image. A scratch is a tiny groove in that mirror, and the walls of the groove sit at an angle to the rest of the surface. Light that hits those walls bounces off in a different direction. You see the scratch only when you, the light, and the defect line up so that the scattered light reaches your eye.
Under an overcast sky or the soft lighting of a parking garage, light arrives from everywhere at once. Every groove scatters a little of it in every direction, it all averages out, and the paint looks uniformly fine. That is why a car looks its best on a gray day, and why dealerships love diffused lighting. A small, bright, single point of light does the opposite. It comes from one direction, so the defects scatter it in one direction, and a swirl that was invisible a second ago lights up as a bright ring around the reflection.
That is the whole trick. The defects are always there. A proper inspection light just stops the rest of the world from hiding them.

 As it came in After correction
 The three lights we use on every car
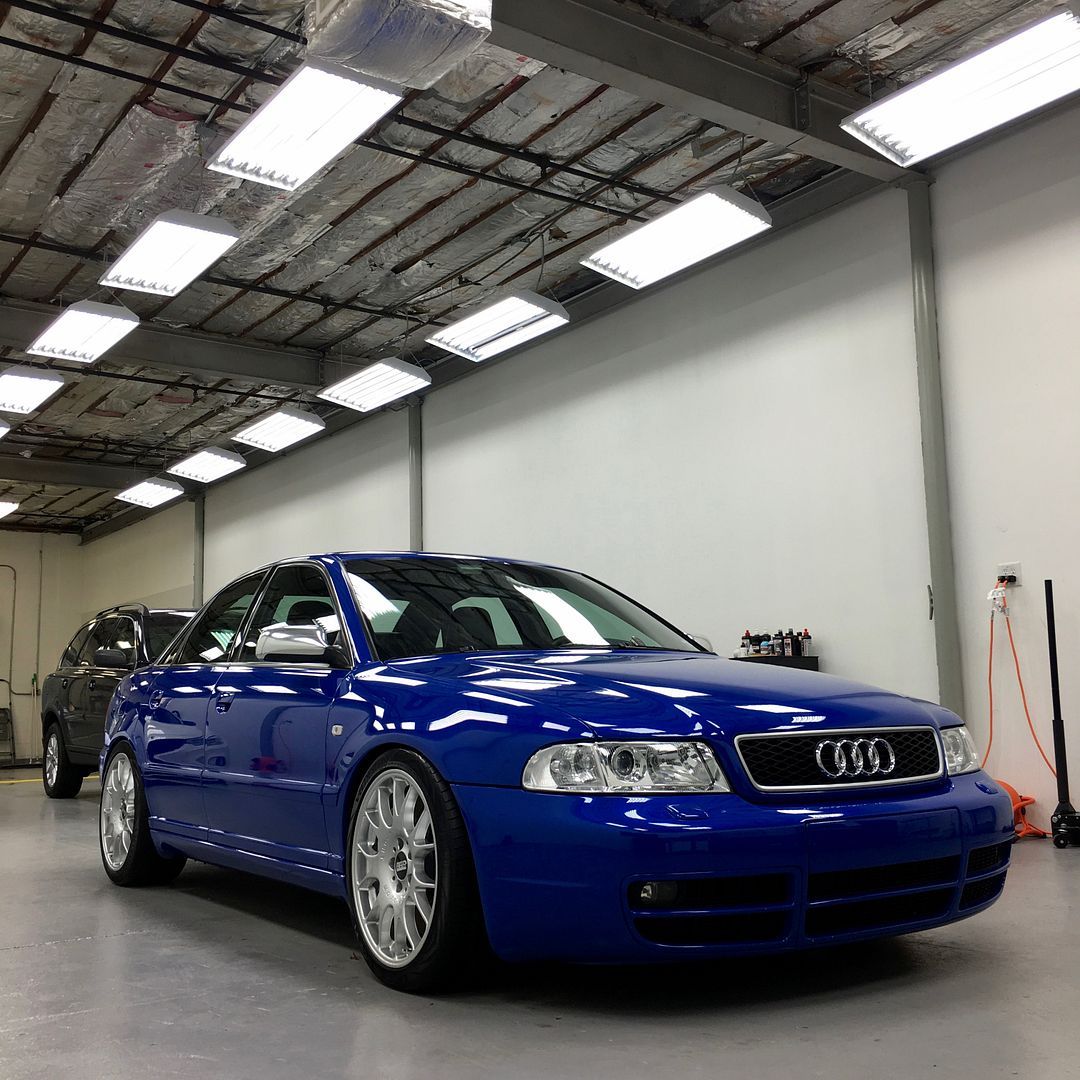
The overhead tubes come first. The bays here are lit with long rows of them, and we use the reflections to read texture from across the room. On a healthy panel, the reflected tube has crisp, straight edges. On a panel with heavy wash marring or haze, those edges go soft, like the tube is out of focus. Walk the length of a car watching the reflection and the hazy panels announce themselves before you get close. Overhead light also shows orange peel, the slight ripple in the clear that turns a straight reflection into a wavy one.

The handheld inspection light is the one that finds individual defects. A good one is bright, small, and high CRI, meaning its light is close enough to daylight that the paint color reads true. The useful ones switch between a warm and a cool color temperature, and that matters more than it sounds. Warm light pulls holograms and buffer trails out of dark paint. Cool light shows fine swirls on silver and white, where warm light tends to wash them out. Most of what you will read below was found with a handheld light held a foot from the panel.
Sunlight is the final exam. Direct sun is the brightest point source there is, and it is what the owner lives with every day. When a correction is finished here, the car goes outside before it goes home. If it is cloudy that day the handheld light stands in, but nothing catches a missed hologram like the sun at three in the afternoon.
What the light shows, and what each one means
Swirl marks
The fine circular scratches that form a spiderweb around the reflection. Swirl marks come from washing and drying, almost always from grit dragged across the paint by a dirty mitt, a rough towel, or an automatic wash. They are shallow and they polish out, but they come back the same way they arrived. Fixing the wash habit is part of fixing the paint, which is why I spent a whole post on how we wash a car in the shop. That process applies to bare paint as much as it applies to film.
Random deep scratches
The straight, isolated lines that run in one direction. A zipper, a ring, a branch on a narrow road, a bag dragged across the trunk. Depth is the only question. Run a fingernail across the scratch. If the nail glides over it, the scratch is in the clear coat and it will usually polish out or wet sand out. If the nail catches, the scratch is through the clear, and polishing will remove far too much material before it gets close. That one gets touched up or repainted, and it is better to know that before anyone starts.
Holograms and buffer trails
Ghosted arcs and zigzag streaks that seem to float below the surface and shift as you move the light. Holograms are left behind by a rotary polisher used with the wrong pad, the wrong compound, or the wrong technique, and they mean the car has been polished before. They show up most on black and dark blue under warm light, and they are the defect owners are most surprised by, because the car came back from that detail looking great. It looked great because the holograms were filled with glaze, and the glaze washed off over the following month.
Fillers hiding the truth
Which brings up the other thing we do during an inspection. Plenty of waxes, glazes, and quick detailers leave oils on the surface that fill fine swirls for a few weeks. Before we judge a panel, we wipe a test spot with a panel prep solution to strip anything sitting on top of the clear. What is left is the real condition of the paint. If you ever get a correction quote that seems too good, ask whether anyone wiped the paint down first.
Water spots and etching
Rings and crescents that stay put when you move the light, because they are not scratches. They are mineral deposits left by water that dried on the panel, and in the worse cases they are the spots where those minerals have eaten into the clear. Surface spots clean off chemically. Etched spots need to be polished, and deep etching has limits. That is a post of its own, and it is coming in a couple of weeks.
Sanding marks and texture from a body shop
Fine, uniform, straight scratches concentrated in one area, often with slightly different texture around them. They mean a panel has been repainted and the finishing work stopped short. I went through this with my own car after its respray, and I wrote about why even fresh paint needs correction. It is the reason new paint gets inspected as carefully as old paint here.
How to inspect your own paint at home
You do not need a shop for any of this. You need a clean car, a dark space, and one good light.
Wash and dry the car completely first. Dust scatters light and hides defects as well as any glaze does.
Get the car out of daylight. A garage at night is ideal. Indirect light works against you, so turn the overhead lights off and let the handheld light be the only source.
Hold the light about a foot from the panel, at an angle, and watch the reflection of the light rather than the paint around it. Move the light slowly in arcs. Defects appear and disappear as the angle changes, which is exactly why a fixed light misses so much.
Start with the hood, the trunk lid, and the upper halves of the doors. Horizontal panels take the most abuse and the most sun, and they are where owners notice defects first.
Mark what you find with a small piece of painter's tape. It keeps you honest about how much is really there, and it makes for a useful conversation if you bring the car in.
Run the fingernail test on anything that looks deep, and write down which ones catch.
If you want the same kind of light we reach for, the NextLED folding inspection light in the store covers all of it. It is rated CRI 95+, it switches between 3000K and 6500K, it has a wide flood beam for panels and a spotlight for tight spots, and the magnetic base lets it sit on a lift or a toolbox so both of your hands stay free.
Why this is the first thing we do
Every correction and coating job here starts with a courtesy inspection, with the owner standing next to me and a light in my hand. I do it in person for a simple reason. A photo cannot tell you the depth of a scratch or whether the swirls are sitting under a layer of filler, so a quote based on a photo is a guess. The light takes the guessing out. You see what I see, we talk through what it will take to fix and what is not worth chasing, and the plan gets built from that.
It also settles expectations before the work starts. A panel full of holograms under a coat of glaze is a very different job from a panel with light wash marring, and the difference is measured in hours. Knowing that on day one is better for both of us.
If you have done the home inspection and did not like what you found, bring the car by. Bring the tape too. The look costs nothing, and you will leave knowing exactly what is in your paint and what it will take to get it out.